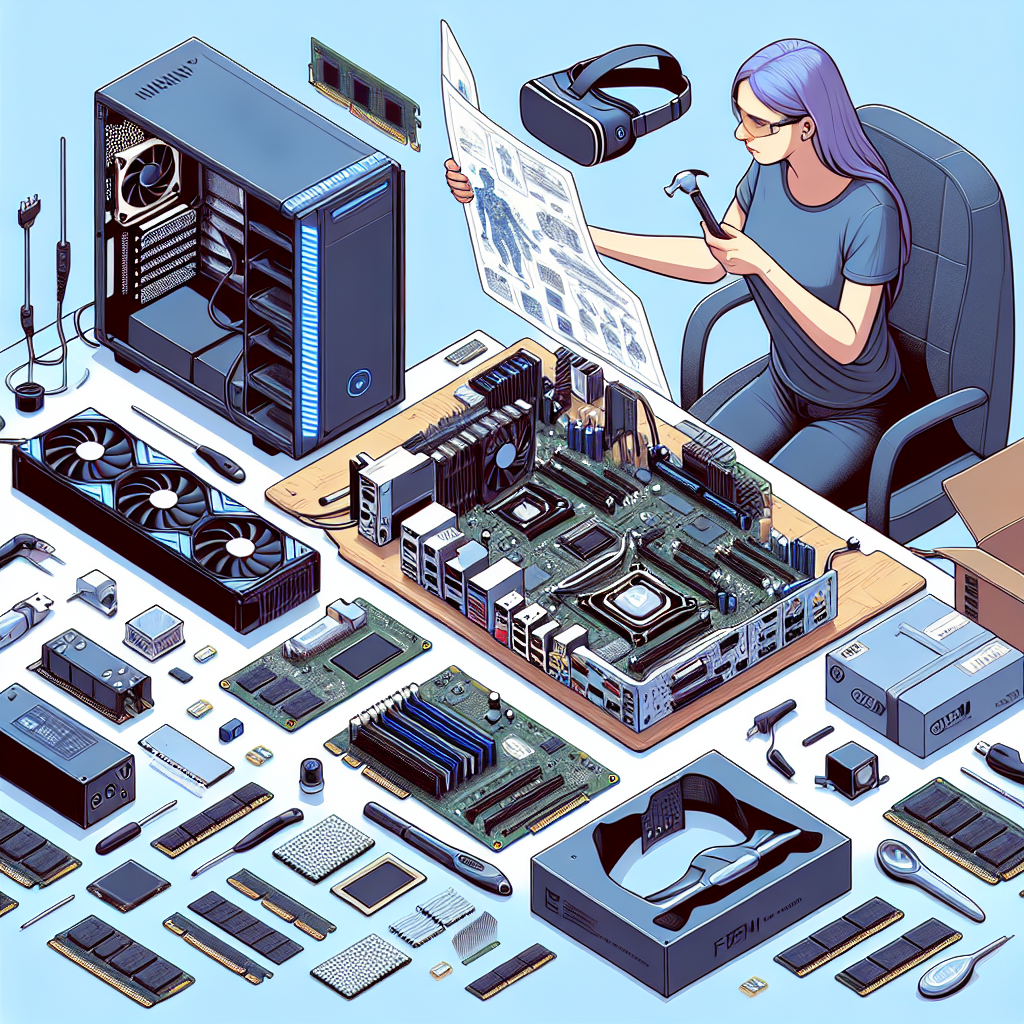
Building a VR-ready computer is an exciting project for both gaming enthusiasts and professionals looking to explore virtual reality. As VR technology pushes the boundaries of immersive experiences, having a powerful and capable machine becomes essential. This detailed guide will walk you through the steps to build a VR-ready computer. You’ll learn about the essential components, assembly process, and tips to ensure your system meets the demands of modern VR applications.
1. Understanding VR Requirements
Before diving into the construction of your VR-ready computer, it is critical to understand the hardware and software requirements necessary for an optimal VR experience. Here is a summary of the minimum and recommended specifications for a VR-ready PC:
| Component | Minimum Requirement | Recommended Specification |
|---|---|---|
| CPU | Intel i5-4590 / AMD Ryzen 5 1500X | Intel i7-9700K / AMD Ryzen 7 3700X |
| GPU | NVIDIA GTX 1060 / AMD Radeon RX 480 | NVIDIA RTX 2080 / AMD Radeon RX 5700 XT |
| RAM | 8GB | 16GB |
| Storage | 256GB SSD | 512GB or higher SSD |
| Operating System | Windows 10 | Windows 10 |
2. Selecting the Components
The key to building a robust VR-ready system lies in choosing the right components. Here’s a step-by-step breakdown:
2.1 Central Processing Unit (CPU)
The CPU is the brain of your computer. For VR applications, you’ll want a processor that can handle multiple tasks efficiently. Recommended options include:
- Intel i7-9700K
- AMD Ryzen 7 3700X
2.2 Graphics Processing Unit (GPU)
The GPU is arguably the most critical component for a VR system.
- NVIDIA RTX 2080: Known for high performance and smooth frame rates.
- AMD Radeon RX 5700 XT: A strong competitor for high-quality VR experiences.
2.3 Memory (RAM)
RAM is vital for multitasking and running complex applications. For VR, it is advisable to have at least 16GB of RAM.
2.4 Storage
Fast and ample storage is essential for quick data access and load times. We recommend:
- 512GB NVMe SSD for boot and primary applications.
- Additional HDD for extra storage if needed.
2.5 Motherboard
Make sure your motherboard is compatible with the CPU and GPU you’ve chosen and has enough slots for RAM and storage upgrades:
- For Intel CPUs: ASUS ROG Strix Z390-E
- For AMD CPUs: MSI B450 TOMAHAWK
2.6 Power Supply Unit (PSU)
A reliable PSU is crucial for stability. Consider an 80+ Bronze certified PSU with at least 650W for a VR system.
2.7 Cooling System
Keeping your system cool ensures longevity and optimal performance:
- Air cooling: Noctua NH-D15
- Liquid cooling: Corsair H100i
2.8 VR Headset
The final piece of the puzzle is the VR headset itself. Popular choices include:
- Oculus Rift S
- HTC Vive Pro
- Valve Index
3. Assembling the Computer
Once you have all your components, it’s time for assembly:
3.1 Preparing the Case
Make sure your case is spacious enough for all your components. Lay it down on a flat surface and open it up.
3.2 Installing the CPU and RAM
Follow the instructions provided with your motherboard to install the CPU and RAM sticks. Make sure they click into place securely.
3.3 Mounting the Motherboard
Carefully place the motherboard into the case and screw it into place.
3.4 Installing the GPU
Slot the GPU into the appropriate PCIe slot and secure it with screws.
3.5 Setting Up Storage
Install your SSD and any additional HDDs into their respective bays.
3.6 Connecting the Power Supply
Connect the PSU to the motherboard, CPU, GPU, and storage drives. Make sure all connections are secure.
3.7 Installing Cooling Solutions
Attach your chosen cooling system, ensuring it’s aligned correctly with the case fans for optimized airflow.
3.8 Final Checks
Before powering up, double-check all connections, fittings, and screws.
4. Installing the Operating System and Drivers
With hardware assembly complete, the next step is installing the operating system and necessary drivers:
4.1 Installing Windows 10
Use a bootable USB drive to install Windows 10. Follow the on-screen instructions to complete the installation.
4.2 Installing Drivers
Download and install the latest drivers for components such as the GPU, motherboard, and peripherals from their respective websites.
5. Setting Up Your VR Environment
After installing the OS and drivers, you need to set up your VR environment:
5.1 Installing VR Software
Download and install VR software like SteamVR or the Oculus app, depending on your headset.
5.2 Configuring the Headset
Follow the setup guide provided with your VR headset to finish the configuration and calibration.
6. Testing and Optimization
It’s essential to test the system to ensure it performs optimally:
6.1 Benchmarking
Use benchmarking tools to test system performance and ensure it meets VR requirements.
6.2 Troubleshooting
Resolve any issues flagged during benchmark tests to ensure a smooth VR experience.
Congratulations! You’ve successfully built a VR-ready computer. Enjoy your immersive experiences in virtual reality.