Building your own custom PC can be a rewarding yet challenging experience. However, nothing is more frustrating than completing your build and discovering that your PC won’t turn on. Before you start panicking, there are several steps you can take to troubleshoot and identify the root cause of the problem.
Preliminary Checks
Before diving into hardware troubleshooting, ensure you’ve performed the following preliminary checks:
- Ensure the power supply is connected to the wall outlet.
- Verify the power switch on the back of the power supply is turned on.
- Check that the power button on the case is connected to the motherboard.
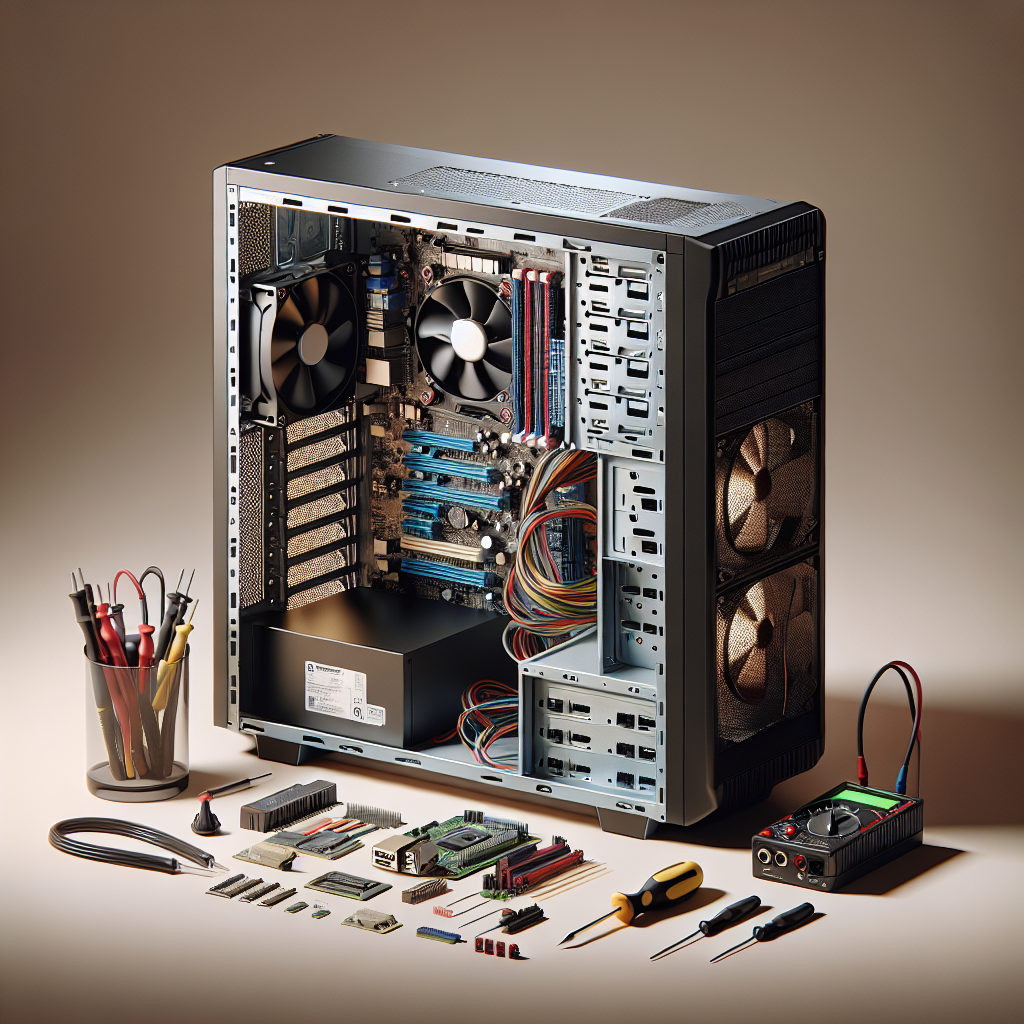
Component Checklist
Make sure all essential components are properly installed.
| Component | Check |
|---|---|
| Motherboard | Ensure the motherboard is seated correctly and screwed in tightly. |
| CPU | Verify the CPU is properly seated in its socket and the cooling system is secure. |
| RAM | Confirm the RAM sticks are firmly inserted into the RAM slots. |
| GPU | Ensure the GPU is seated properly, and its power connectors are attached. |
| PSU | Verify that all power supply cables are connected to the motherboard. |
Power Supply Troubleshooting
A common reason for a PC not turning on is power supply issues. Here are steps to check your power supply:
Check Power Cables
- Confirm all power cables are firmly connected to your motherboard, CPU, and GPU.
- Check for any loose connectors that could affect power delivery.
Power Supply Unit (PSU) Test
Perform a basic test to ensure the PSU is working:
- Unplug the power cord from the power supply.
- Use a paperclip to short the green and a black wire on the 24-pin ATX connector.
- Plug the power cord back in and see if the PSU fan spins.
If the fan does not spin, your PSU might be faulty and need replacement.
Motherboard Troubleshooting
If the PSU checks out fine, the next component to check is the motherboard:
POST Beep Codes
Most motherboards emit beep codes during the Power-On Self-Test (POST). These beeps can indicate specific issues:
- One beep: Typically indicates the system is okay.
- Two or more beeps: Usually indicate a hardware issue. Refer to your motherboard’s manual for exact codes.
If there are no beeps at all, ensure the internal speaker is connected to the motherboard.
Clear CMOS
Clearing the CMOS can reset your motherboard BIOS settings:
- Locate the CMOS battery on the motherboard.
- Remove the battery for a few minutes.
- Reinsert the battery and try turning the system on again.
CPU and RAM Troubleshooting
If the motherboard is not the issue, move on to the CPU and RAM:
Re-seat CPU
- Power down and unplug your PC.
- Remove the CPU socket cover and inspect for bent pins.
- If no bent pins are found, reinsert the CPU and ensure it is locked in place.
Test RAM Sticks
- Power down and unplug your PC.
- Remove all RAM sticks except for one, and try booting up.
- Swap out the RAM stick with another one if the initial one doesn’t work.
- Test each RAM slot individually by inserting one RAM stick at a time.
Final Checks
If you have followed all the above steps and the PC still won’t turn on, there might be an issue with one of the components. Here are some final checks:
Check for Short Circuits
- Ensure no extra screws or metal objects are touching the motherboard.
- Check if the motherboard is making contact with the case improperly.
Inspect All Connectors
- Double-check all connectors to ensure they are firmly attached.
- Look for damaged connectors or broken wires.
Conclusion
Troubleshooting a custom-built PC that won’t turn on can be challenging but systematic checks can help you identify the issue. Start with the basics and gradually move to more intricate components. If all else fails, you might need to seek professional help to diagnose potential hardware faults.